Sunday, August 7, 2011

A new year, A new LOOK!

So this year I am actually moving classrooms. Long story short, last year I was in a regular sized classroom, this year I'm in the room that is intended to be the art room. Last year it was under renovation from the Nashville May flooding. Anyway.... so there are these windows in my room that look out into the cafeteria. Going into the room I know that this will be a distraction to my students. Currently there is an exhibit at the Frist Center for the Visual Arts on Andy Warhol.... here is my solution to my windows!


Thursday, August 4, 2011

Here's a thought...

Using Shout Color Catchers for watercolor painting.... I haven't tried it yet, but I surely will be soon!

Wednesday, August 3, 2011

Warhol Tissue Paper Flowers

Inspired by these Warhol prints...


 One of the projects I did for the Frist Center for the Visual Arts summer camp was a tissue paper print. In this instance I had pre-cut tissue paper flowers, had the students arrange the flowers on their white drawing paper and spray them using a water bottle. Once the papers were sprayed, the students pealed their flowers off of their papers, leaving the stain from the colored tissue. *** Make sure when doing this that your art tissue paper is the type that is bleeding.
Day 2 students go back into their artwork with a sharpie marker to draw details around their flowers. There are so many other things you could use to add grass and I do plan on altering this lesson some before bringing it into my classroom this fall, but I very much enjoyed the results! Also the students didn't much care for the outcomes of their works until the next day when they added the details- or at least I got that comment from one student that I remember... not every lesson is fabulous until it's finished!


Sunday, July 31, 2011

Wigging Out Over Warhol!

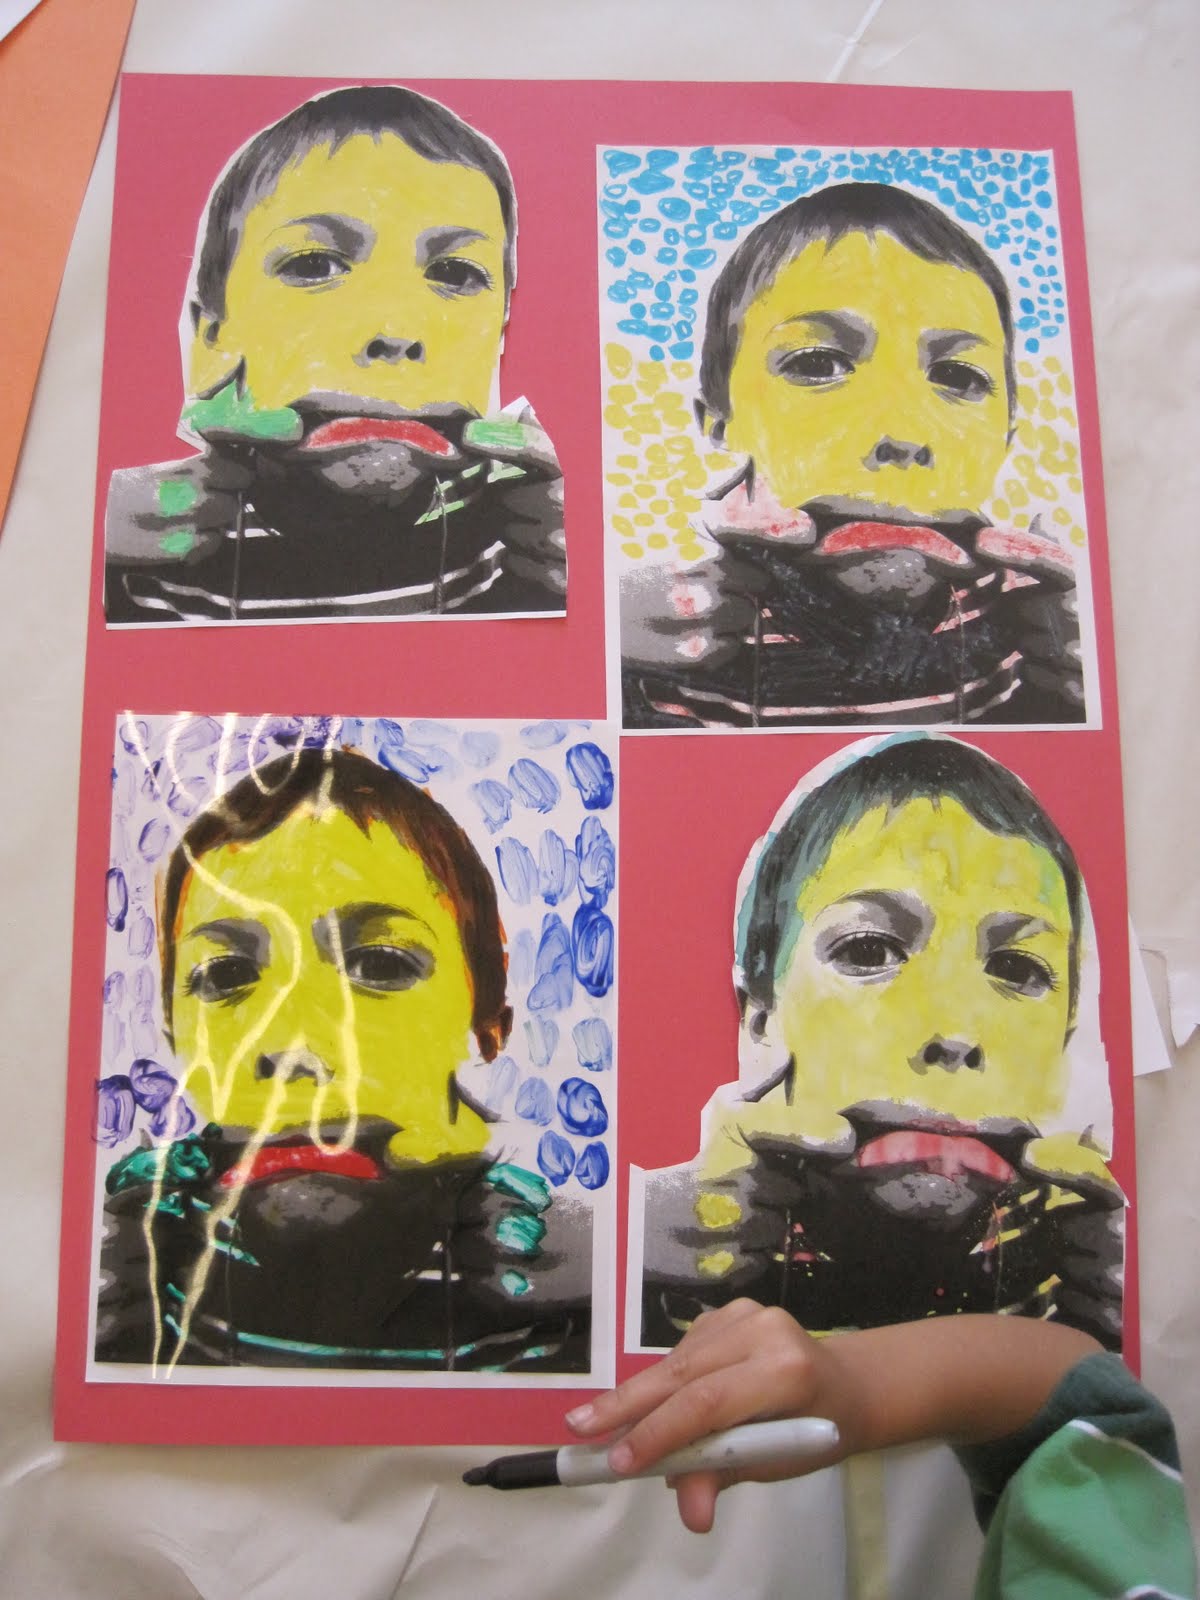
So this summer I had the privilege of teaching at the Frist Center for the Visual Arts in downtown Nashville. I had such a blast, especially since the most recent exhibition to come on display while I was teaching was Warhol Live. This gave me the opportunity to explore some fun Warhol inspired art lessons. I think my favorite was the Warhol Portrait lesson that I did...

First I took a photograph of each student, then using photoshop, I turned those photos into black and white, elevated the contrast, and finally posterized. Then I printed out 3 photocopies of each kiddo, and one copy on a transparency. The students got to color these photos first using the crayola get fx markers, then using crayons with watercolor, and finally they got to chose their own media for their third. I know coloring isn't the most artistic thing to do with the students, but these were 5-7 year olds and it gave them the opportunity to see the different types of media and the marks those media can make. Lastly on the transparencies, the first week's group I had them use acrylic paint on the back of the transparency, so the image still faced the same direction as the rest of the photocopies. I wasn't all that impressed with the results, so the second group I tried having them use oil pastels, and I liked the results better.

Teaching this summer was a great opportunity for me to experiment and inspire me to create lessons for my kiddos this fall. Here are some of the results!


Wednesday, June 22, 2011

Color Wheels on a budget

I know that many art rooms, like my own, are on a very tight strict budget. I will have enough liquid tempera paint to have a class or two complete one painting, but not enough for them to also mix a color wheel. One of the greatest materials that I use in my classroom, are not only convenient to distribute to the students' tables, but is reasonably priced, and will last you the entire year! Tempera Cakes! I love tempera cakes- they are used similarly to watercolors but have a greater concentration of color. The downside of tempera cakes is that often times students will paint right through the paper, so warn your students about painting over the same spot on their paper over and over again!

For this assignment I had the students cut a small shape out of a piece of oak tag/ index card and trace it 12 times on their drawing paper in the shape of a wheel. They do have to paint their wheels in correct color order, but if they do make mistakes they are able to re-draw the shapes on their paper before cutting out their wheels. Once they complete their paintings, I had them cut out their shapes and paste them onto piece of black construction paper to eliminate stray marks and create a clean complete look!  This lesson was also from Ms. Peggy Flores and was demonstrated in one of her Crystal videos on color.


Kaleidoscopes

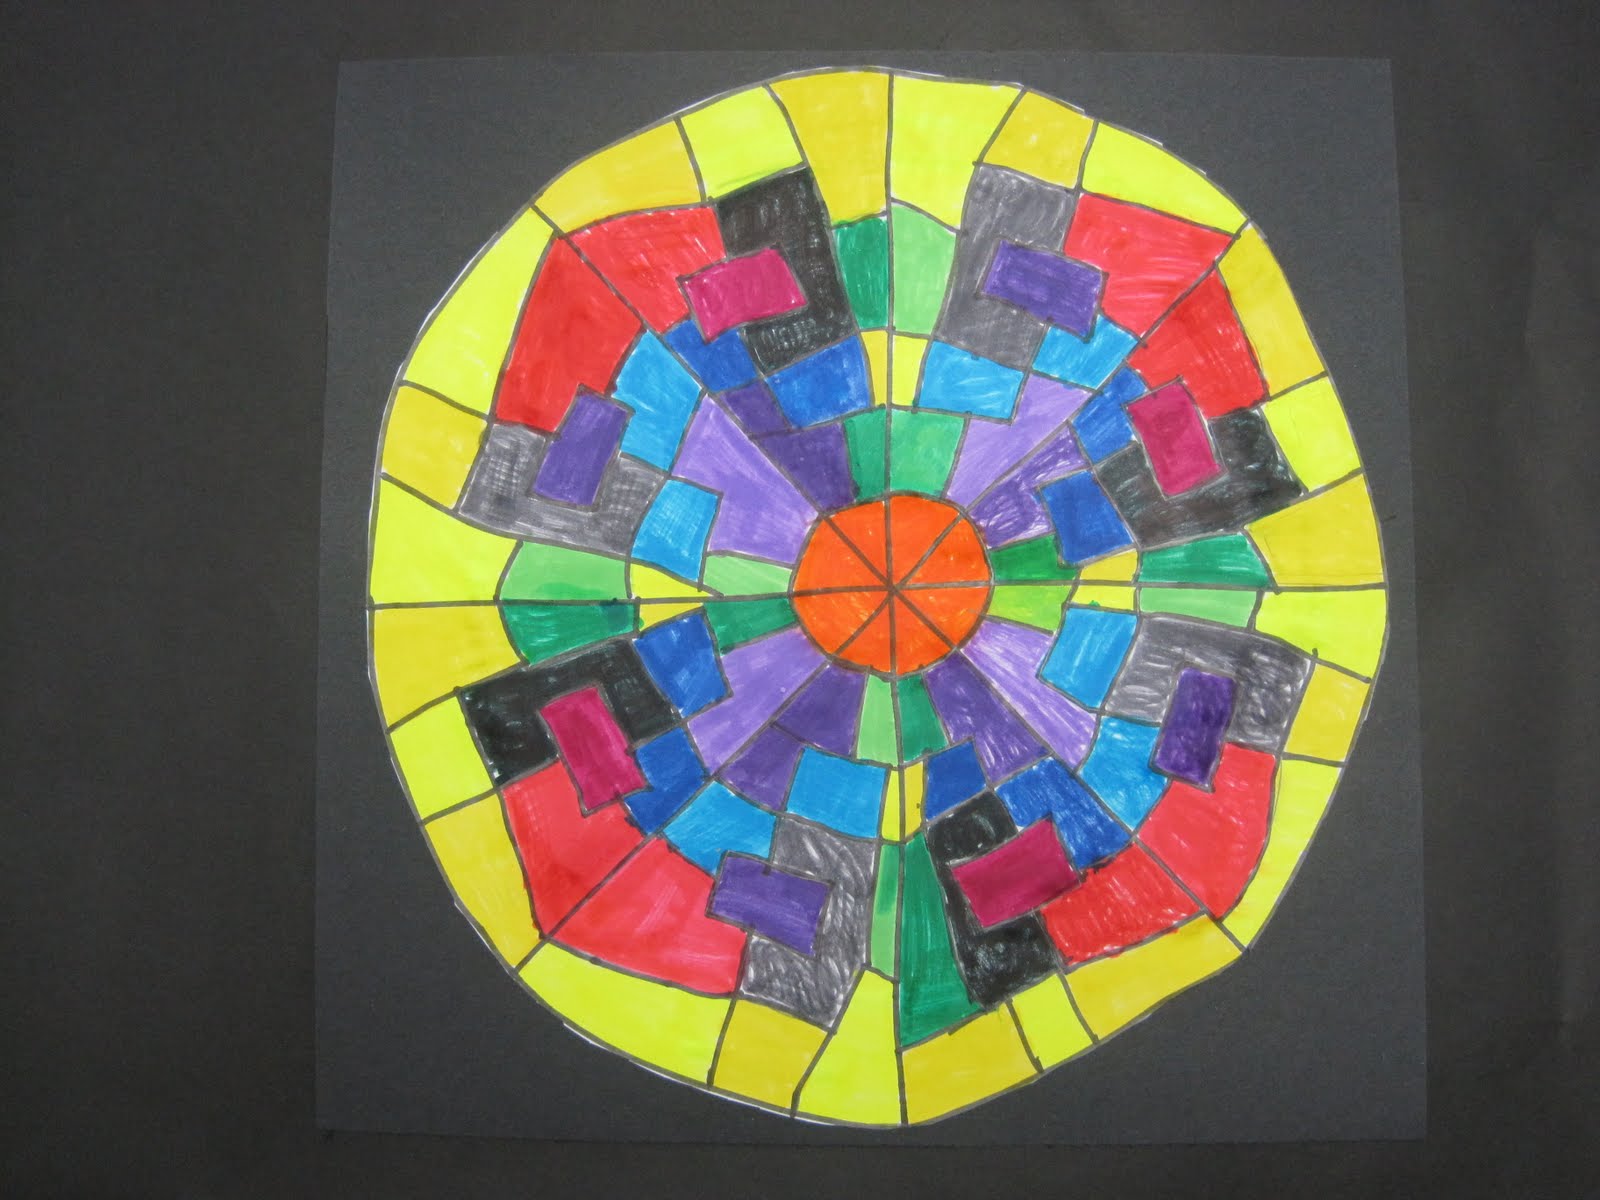
Towards the end of the year, while some students are still wrapping up some projects from the end of the semester, others were begging for something more to do. During one of the Tennessee Arts Academy session last year I learned so much from Ms. Peggy Flores. If that name sounds familiar, it is because Peggy has filmed many art instructional videos for Crystal Productions- hands down she is absolutely fabulous! My students really enjoyed her video on color/ the color wheel. One of the projects though that I did with my 3rd and 4th grade students was her Kaleidoscope lesson. These following examples were done using a template that she gave us which I will post photos of on here at a later date...


Sunday, May 29, 2011

Mexican Yarn Paintings

After completing circle weavings with third grade and loom weavings with fourth grade, I was left with all kinds of scraps of yarn. I remembered a friend of mine showing me her students yarn paintings that she did with kindergarten that were so cute! So I did some online research, came up with an introduction to the lesson, and taught this activity with all grades. All the students enjoyed doing this and they came with some really creative results. Check out more on our Artsonia page!


Check out this link for more information on this lesson plan!
http://www.dickblick.com/multicultural/huichol/